I was in the mood to refresh a few of my Xen virtual machines, and saw that Ubuntu 11.04 had been released, so I figured I’d give it a try. Ubuntu has typically been pretty decent under Xen, working well as either a hardware virtualized (HVM) or paravirtualized (PV) guest, but standards appear to have slipped with this latest release. I ran into problems with natty properly detecting and using both the NIC and the hard disk at multiple points in the install and setup. The instructions below will walk you through setting up a paravirtualized guest running Ubuntu 11.04. The instructions are pretty standard for any moderately recent release of Ubuntu or Debian, with the gotcha’s specific to Ubuntu 11.04 specifically marked.
Some notes before we get started: I use LVM volumes as my disk images, but this is irrelevant to this guide, just substitute some appropriate commands for making your disk backed by a file. Also, I’m naughty and run all of these from a root shell, rather than using sudo everywhere. Substitute as appropriate if you have better habits than I.
1. Create your LVM volume (or use a file) for your virtual machine.
[cc]# lvcreate -L10G -n example.mmacleod.ca VolumeGroup[/cc]
2. Get the kernel, initrd, and xen config
[cc]
# wget http://ca.archive.ubuntu.com/ubuntu/dists/natty/main/installer-amd64/current/images/netboot/xen/xm-debian.cfg
# wget http://ca.archive.ubuntu.com/ubuntu/dists/natty/main/installer-amd64/current/images/netboot/xen/initrd.gz
# wget http://ca.archive.ubuntu.com/ubuntu/dists/natty/main/installer-amd64/current/images/netboot/xen/vmlinuz
[/cc]
3. Edit the config file
Edit the config file to taste, paying attention to the memory, name, vcpus, vif, and disk options. Also, find the line that says “bootloader=pygrub” and change it to the absolute path “bootloader=/usr/sbin/pygrub”.
4. Start the install
[cc]xm create -f xm-debian.cfg -c install=true install-kernel=”vmlinuz” install-ramdisk=”initrd.gz” install-mirror=”http://ca.archive.ubuntu.com/ubuntu” install-arch=amd64 install-method=network[/cc]
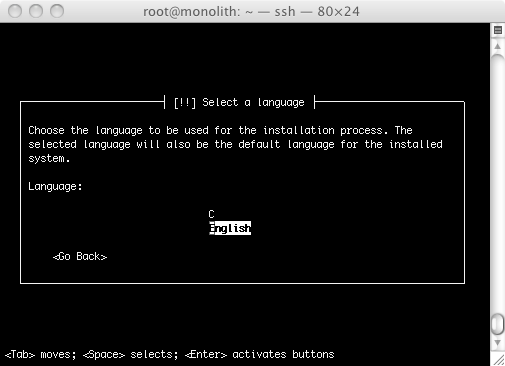
4.1 Select a language
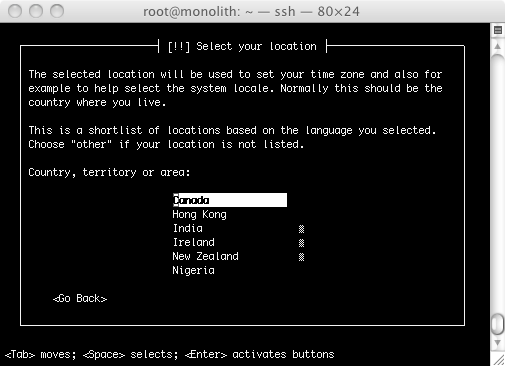
4.2 Select your location
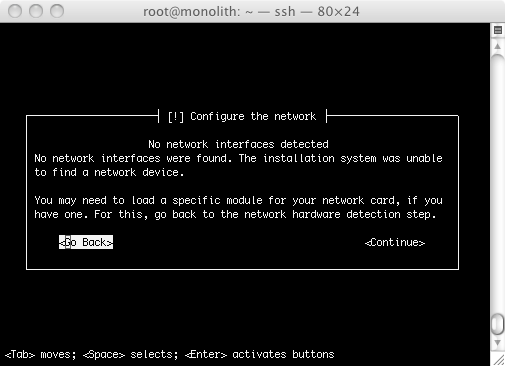
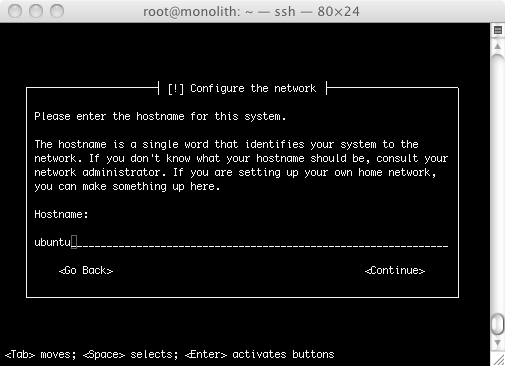
4.3 Configure the network
Configuring the network fails at first with natty. You need to manually load the network driver. The following steps are not required for other versions of Ubuntu.
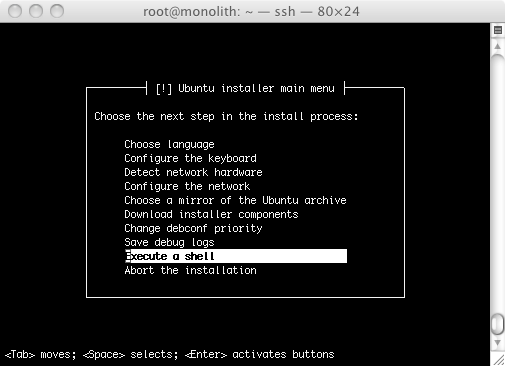
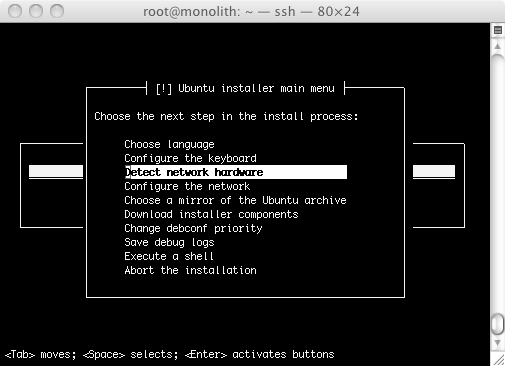
When you arrive at this stage, just select ‘Go Back’ and you’ll be dropped to a menu.
At this menu select ‘Execute a shell’
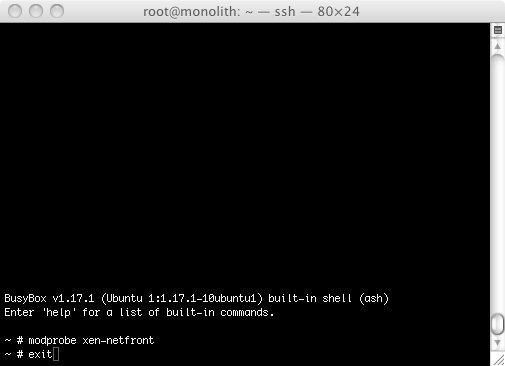
Use the following to manually load the NIC module.
[cc]
# modprobe xen-netfront
# exit
[/cc]
Select ‘Detect network hardware’
And we’re passed the network driver hurdle. From here it should behave as a standard network install.
5. Fix the boot stage
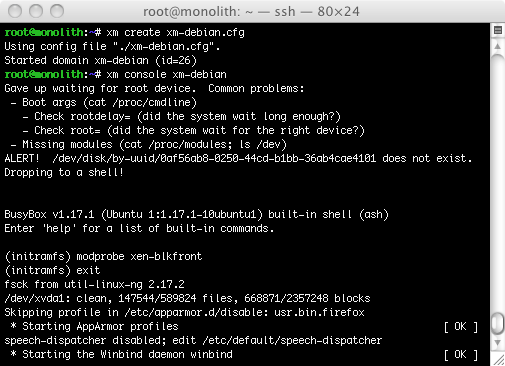
The first time you boot your new virtual machine, it’s going to fail to find the hard disk because the xen-blkfront module isn’t loaded. Fix it by loading it manually.
[cc]
(initframfs) modprobe xen-blkfront
(initramfs) exit
[/cc]
Once the host finishes booting, log in and sudo to root. Then enter the following:
[cc]
root@ubuntu:~# echo “xen-blkfront” >> /etc/initramfs-tools/modules
root@ubuntu:~# update-initramfs -u
update-initramfs: Generating /boot/initrd.img-2.6.38-8-generic
[/cc]
And that should be it. You now have Ubuntu Natty Narwhal running as a paravirtulized domU.
